QEMU Guest Agent v103 Installation
This procedure applies to:
- Windows 7
- Windows Server 2008 R2
- Windows Server 2012/R2
- Windows Server 2016
Step 1
Download QEMU Guest Agent v103 from here.
Step 2
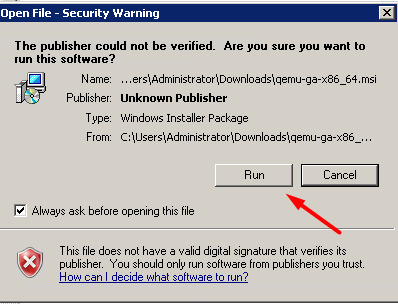
After download has finished, run the installer.
Step 3
The installation will complete automatically, no user action required.
Cloudbase-Init 1.1.2 Installation
This procedure applies to:
- Windows 7
- Windows Server 2008 R2
- Windows Server 2012/R2
- Windows Server 2016
Step 1
Download Cloudbase-Init 1.1.2 x64 from here.
Step 2
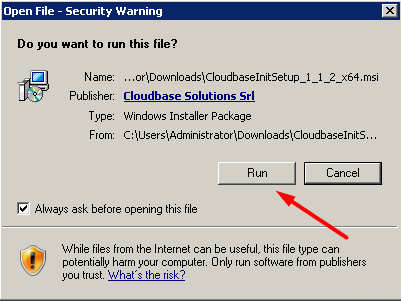
After download has finished, run the installer.
Step 3
Proceed to Run.
Step 4
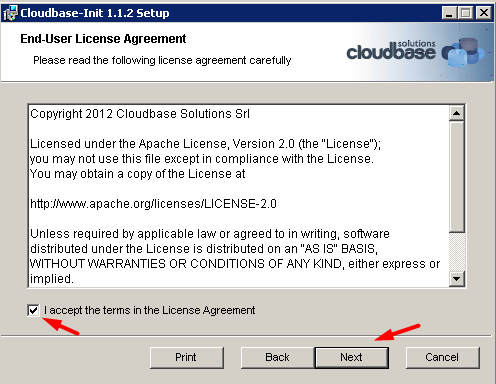
Proceed with Next and accept the terms in License Agreement.
Step 5
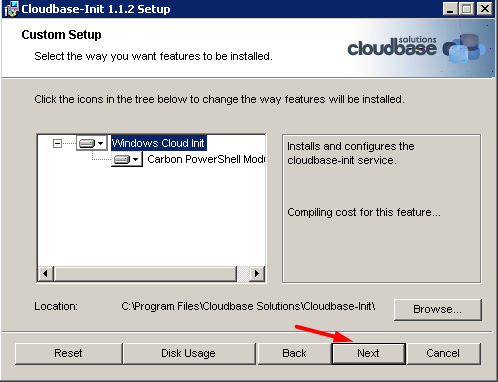
Maintain the default installation path and click Next
Step 6
You will be greeted with below section: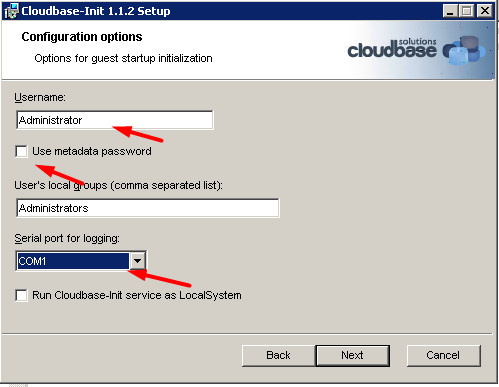
Change username to Administrator and COM1 for serial port for logging. Making sure Use metadata password and Run Cloudbase-Init service as LocalSystem is unticked. following the red arrow as in above image. Click next and proceed with installation.
Step 7
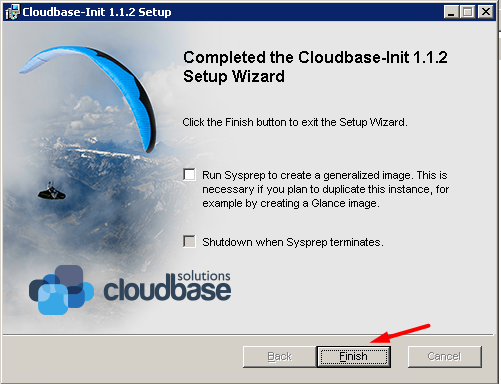
Complete the installation as image. Do not tick the Run Sysprep option.
Step 8
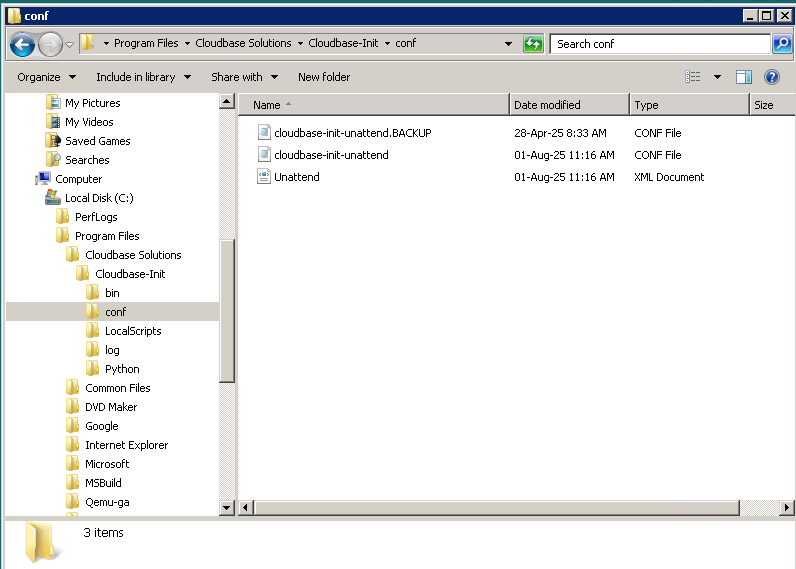
Navigate to C:\Program Files\Cloudbase Solutions\Cloudbase-Init\conf from the Windows Explorer. Make a copy of the conf file cloudbase-init-unattend and rename it to cloudbase-init-unattend.BACKUP
Step 9
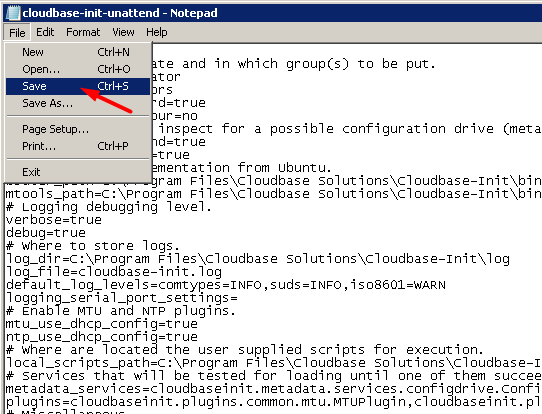
Open the conf file cloudbase-init-unattend with notepad and replace the config in cloudbase-init-unattend to below:
[DEFAULT]
# What user to create and in which group(s) to be put.
username=Administrator
groups=Administrators
inject_user_password=true
first_logon_behaviour=no
# Which devices to inspect for a possible configuration drive (metadata).
config_drive_raw_hhd=true
config_drive_cdrom=true
bsdtar_path=C:\Program Files\Cloudbase Solutions\Cloudbase-Init\bin\bsdtar.exe
mtools_path=C:\Program Files\Cloudbase Solutions\Cloudbase-Init\bin
# Logging debugging level.
verbose=true
debug=true
# Where to store logs.
log_dir=C:\Program Files\Cloudbase Solutions\Cloudbase-Init\log
log_file=cloudbase-init.log
default_log_levels=comtypes=INFO,suds=INFO,iso8601=WARN
logging_serial_port_settings=
# Enable MTU and NTP plugins.
mtu_use_dhcp_config=true
ntp_use_dhcp_config=true
# Where are located the user supplied scripts for execution.
local_scripts_path=C:\Program Files\Cloudbase Solutions\Cloudbase-Init\LocalScripts
# Services that will be tested for loading until one of them succeeds.
metadata_services=cloudbaseinit.metadata.services.configdrive.ConfigDriveService
plugins=cloudbaseinit.plugins.common.mtu.MTUPlugin,cloudbaseinit.plugins.windows.extendvolumes.ExtendVolumesPlugin,cloudbaseinit.plugins.common.sethostname.SetHostNamePlugin,cloudbaseinit.plugins.common.userdata.UserDataPlugin,cloudbaseinit.plugins.common.networkconfig.NetworkConfigPlugin,cloudbaseinit.plugins.common.localscripts.LocalScriptsPlugin,cloudbaseinit.plugins.common.setuserpassword.SetUserPasswordPlugin
# Miscellaneous.
allow_reboot=false
stop_service_on_exit=false
Step 10
After replacing the config, navigate to File>Save or CTRL+S to save.
Programs Installation Verification
Step 1
Navigate to Programs and Features via Control Panel. You should see the programs installed pointed by the red arrows in image below.

Note: To ensure a seamless and efficient user experience with the new VPS Control Panel, the above programs and dependencies must be installed and properly configured.
