CloudPanel is an intuitive web hosting control panel designed for easy management of websites and web applications. When you choose the Debian 11 with CloudPanel VPS template, CloudPanel comes pre-installed. This guide will help you get started with using CloudPanel on your VPS.
Accessing CloudPanel
To access CloudPanel, follow these steps:
- Open a web browser and navigate to
https://your-vps-ip:8443. Replaceyour-vps-ipwith the IP address of your VPS.
2. Ignore the self-signed certificate warning, click on Advanced, and then Proceed to continue to CloudPanel.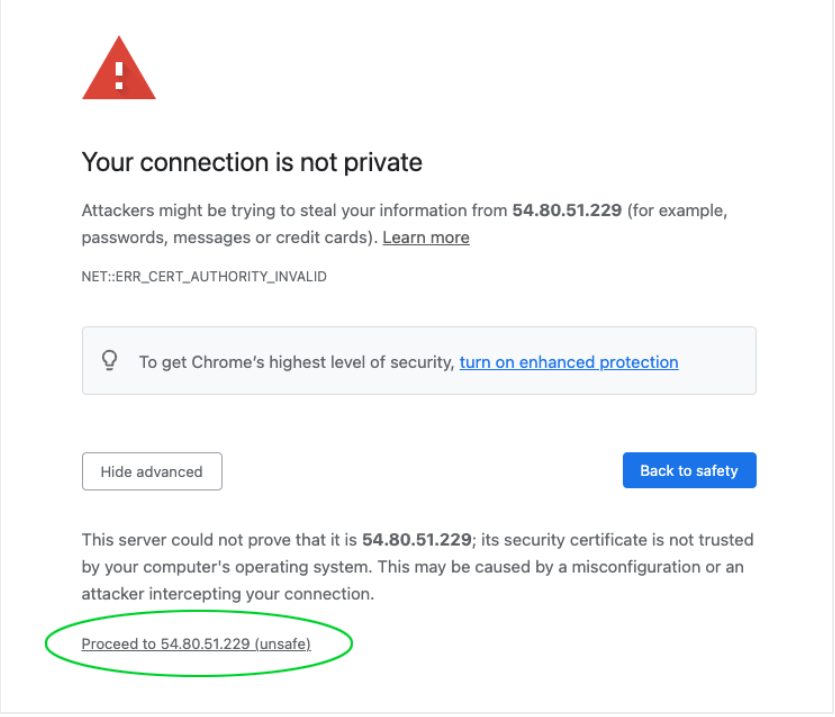
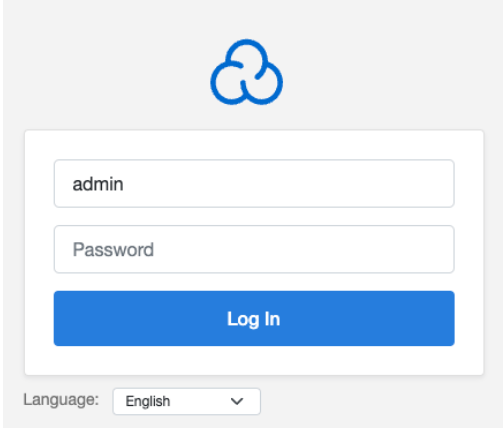
3. Log in to CloudPanel using the credentials provided during the template installation.
4. If you wish CloudPanel to run on your domain, point your domain to the VPS IP address and change the server hostname.
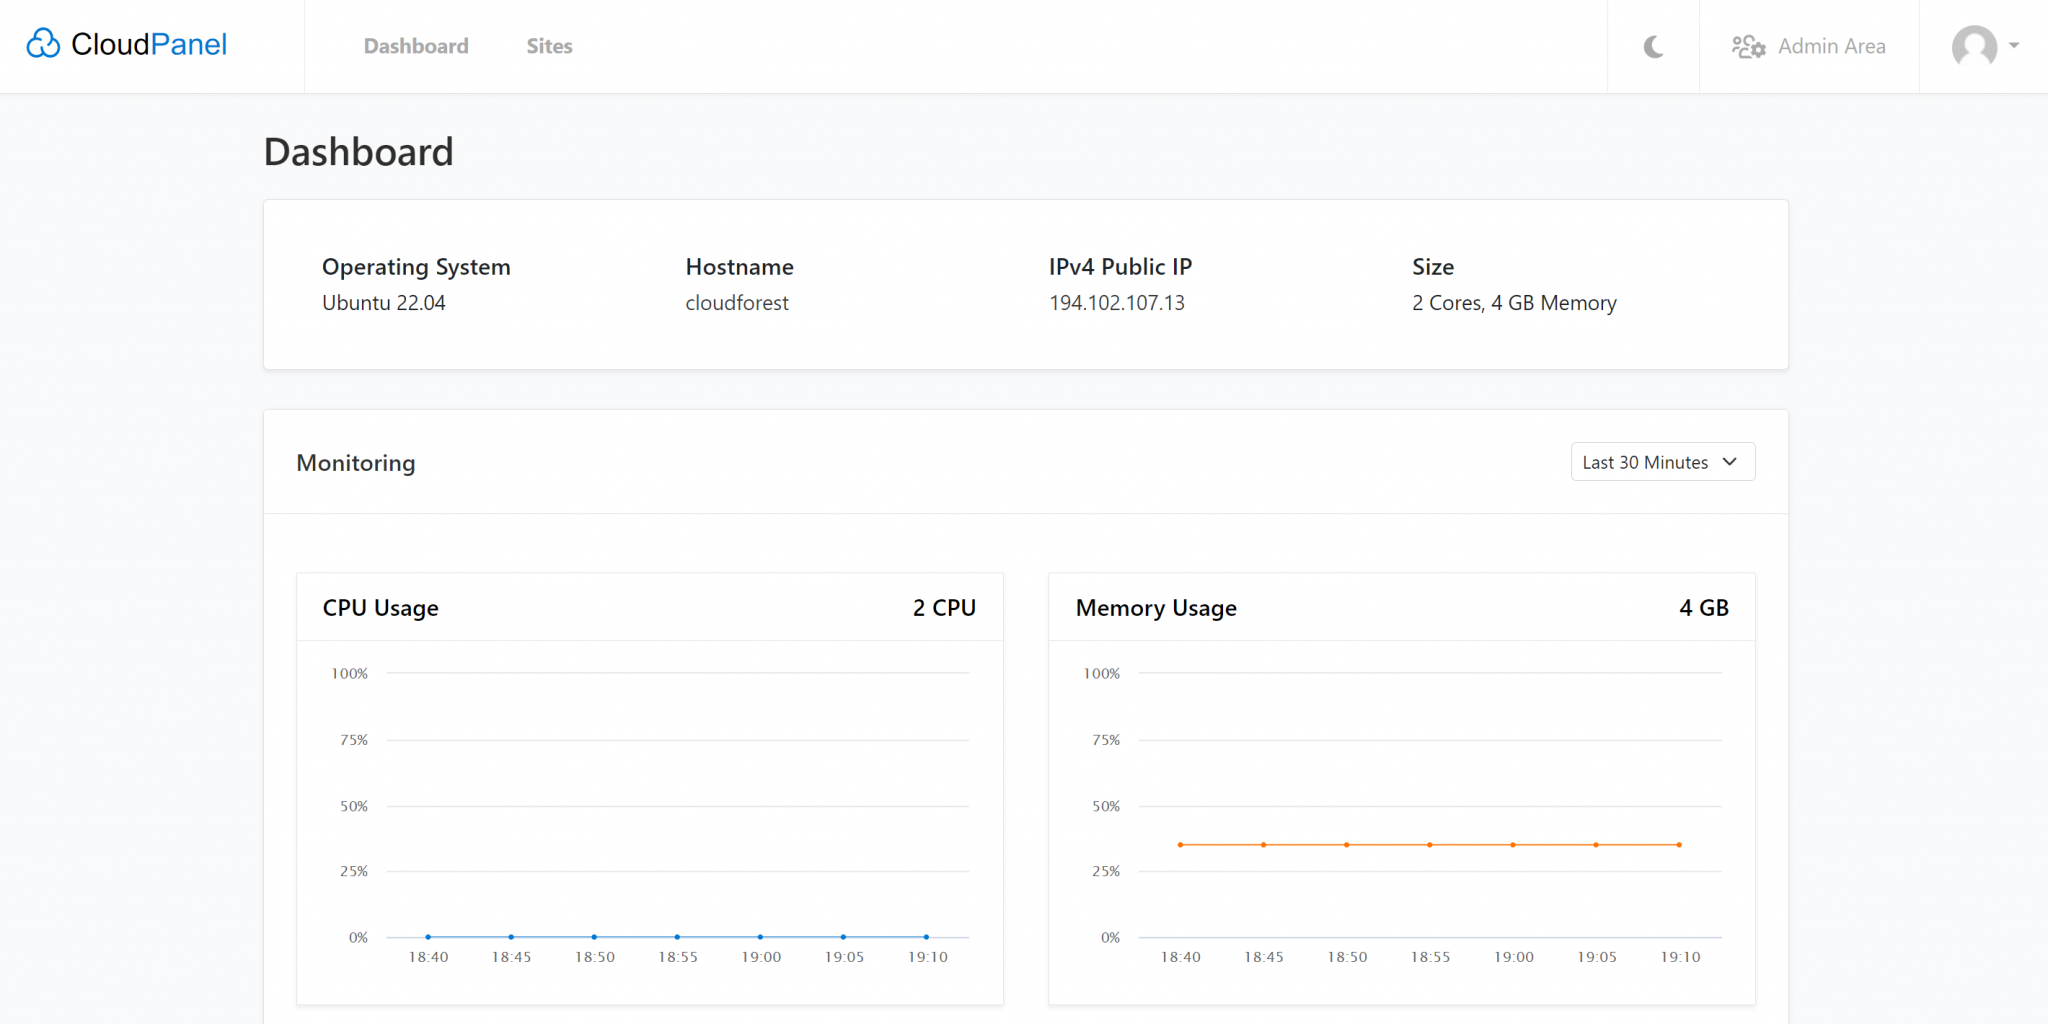
Once authenticated, you can monitor and manage your VPS through this modern and elegant web interface. The panel has many capabilities, and I invite you to explore them on your own. From this point, you can create a new website to host it in the “Sites” section.
Adding a Website to CloudPanel
To add a website to CloudPanel, follow these steps:
1. Log in to CloudPanel.
2. Go to the Sites tab in the dashboard.
Click on Add Site.
3. Select the type of website you want to add.

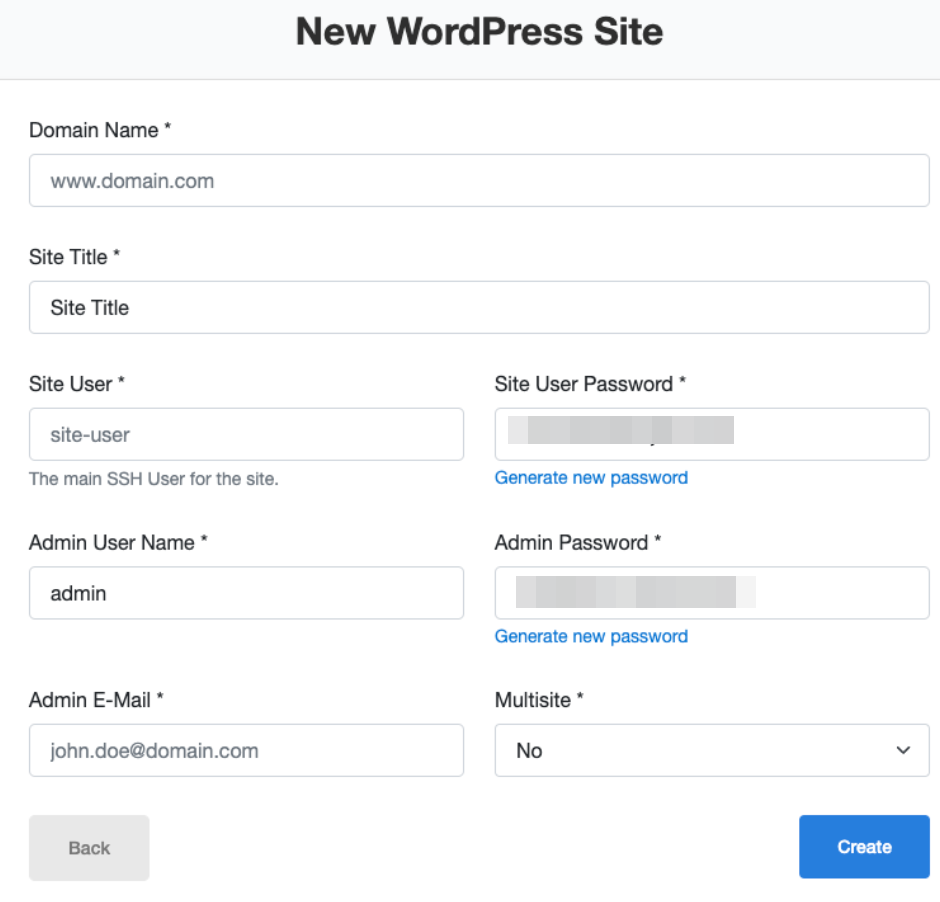
- For example, if you are adding a WordPress site, you will need to provide the following details:
- Domain name: The domain name that you have pointed to the VPS IP address.
- Site title
- Site username and password (for CloudPanel)
- Admin username and password (for WordPress)
- Admin email (for WordPress)
4. Complete the installation process. Once it is complete, you will receive a summary of your WordPress site and will be able to access its admin panel.
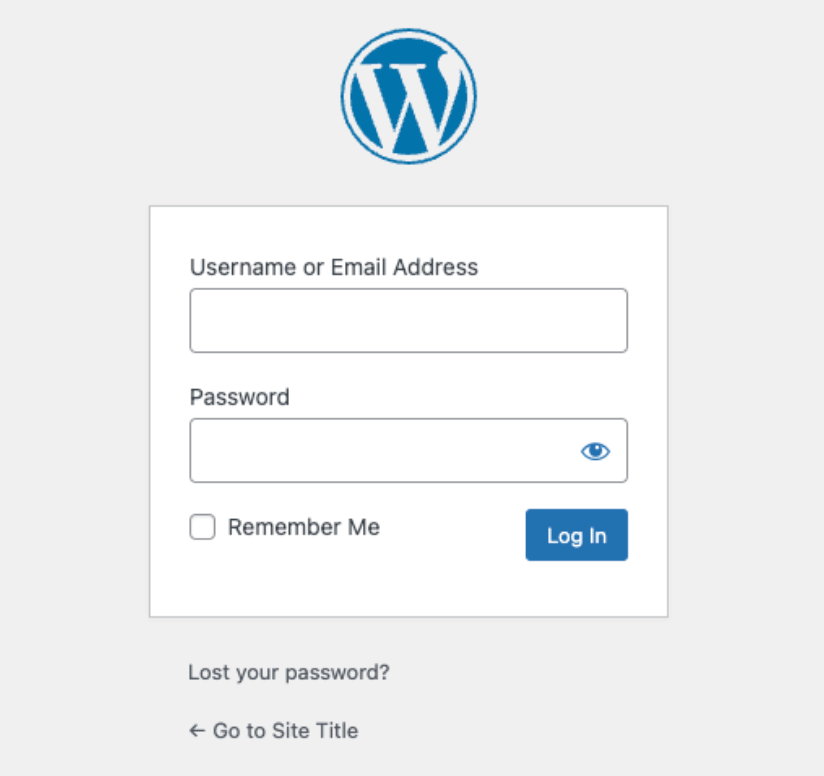
You have successfully accessed CloudPanel on your VPS and added a new website.

